After acquiring appropriate outfits for the children to wear to Christmas recitals and parties, I turned my attentions to my own closet and was at a loss. The thing is my holiday party needs fill a special niche. None of the parties are formal, so party frocks and LBD’s would be overkill. However, none of the events are super casual either. I need something that can be worn over dress jeans or soft tailored slacks, and paired with a slightly, but not too, dressy cardigan or jacket.
I thought a glitzy tank would roll with these particular style punches, a little sheen, but not too much dazzle. And the stores always have tons of them. Not so this season. The stores were filled with bulky sweaters in earth tones, some of them still sporting sticky brown flecks I presume from the sheep hair. [Was it dirt or poo? I couldn’t get my mind wrapped around the poo possibility!] Since nothing festive appeared and the fabric store is right in the same strip mall I decided to check out the patterns. All of the party dress patterns were over the top for my needs, but I did find this simple tank that I thought would work well if done in fancy fabric.
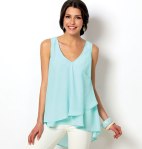
McCall’s 6960 Tank with Trapeze Hem; High-Low or standard hemline options.
Link : http://mccallpattern.mccall.com/m6960-products-48439.php?page_id=483&search_control=display&list=search
Pros:
A trapeze hemlines hide prominent bellies and thick waists, both which I possess.
Three different hemlines to choose from.
The way the front and back facings are applied gives a subtle structure to the upper body of the tank.
The high-low hem is currently very fashionable.
Options A and B both allow you to experiment with lace overlays which are always feminine and currently quite fashionable.
Cons:
Many women past a certain age or weight may find the T-back and front tie options useless.
V-necks are very flattering but if you look closely at the model on the pattern cover you will see that the neckline is quite low. The model has a slender figure and a modest bust so her undergarments are not showing, but if you are fuller figured in the chest or simply don’t want to show that much decolletage, you will have to adjust the necklines of both the tank and the facing.
The high-low hem may present some challenges in finding a sweater or jacket that compliments.
Some Assembly Required:
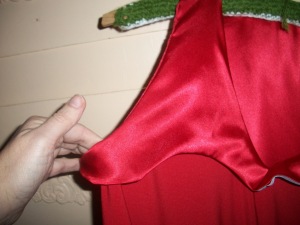
A combination facing is sewn to both the necklines and armscye edges allowing the sewer to finish both edges at once. The pattern offers a decent illustration how the back and front are connected at the shoulder seams and turned.
The facing: The pattern offers a terrific way to apply a facing though not a beginner technique. The pattern instructs you to apply a combination facing which is a fuller facing where you stitch the facing to both the neckline and armhole. The facings are attached to the front and back separately and the two pieces are sewn together at the shoulders through a technique best shown by illustration. [The patterns instructions are quite good here.]
The good thing about a combination facing is that when the item is custom fit, it holds the tank so nicely. The down side is whatever you do to custom fit the neckline or armholes must be transferred to these more complicated facings.
The high-low hem is rather like a shirttail hem and those can wrinkle and bunch in sewing. Because costume/party fabrics are not as forgiving as shirting, I did not hem the top. I finished with a serged edge and left it. Better to have a nice serged finish than a wrinkly turned up hem. Also, if I do a half-tuck in the back to disguise the length, a hem bump is not showing through the back of jeans.
Fabric:

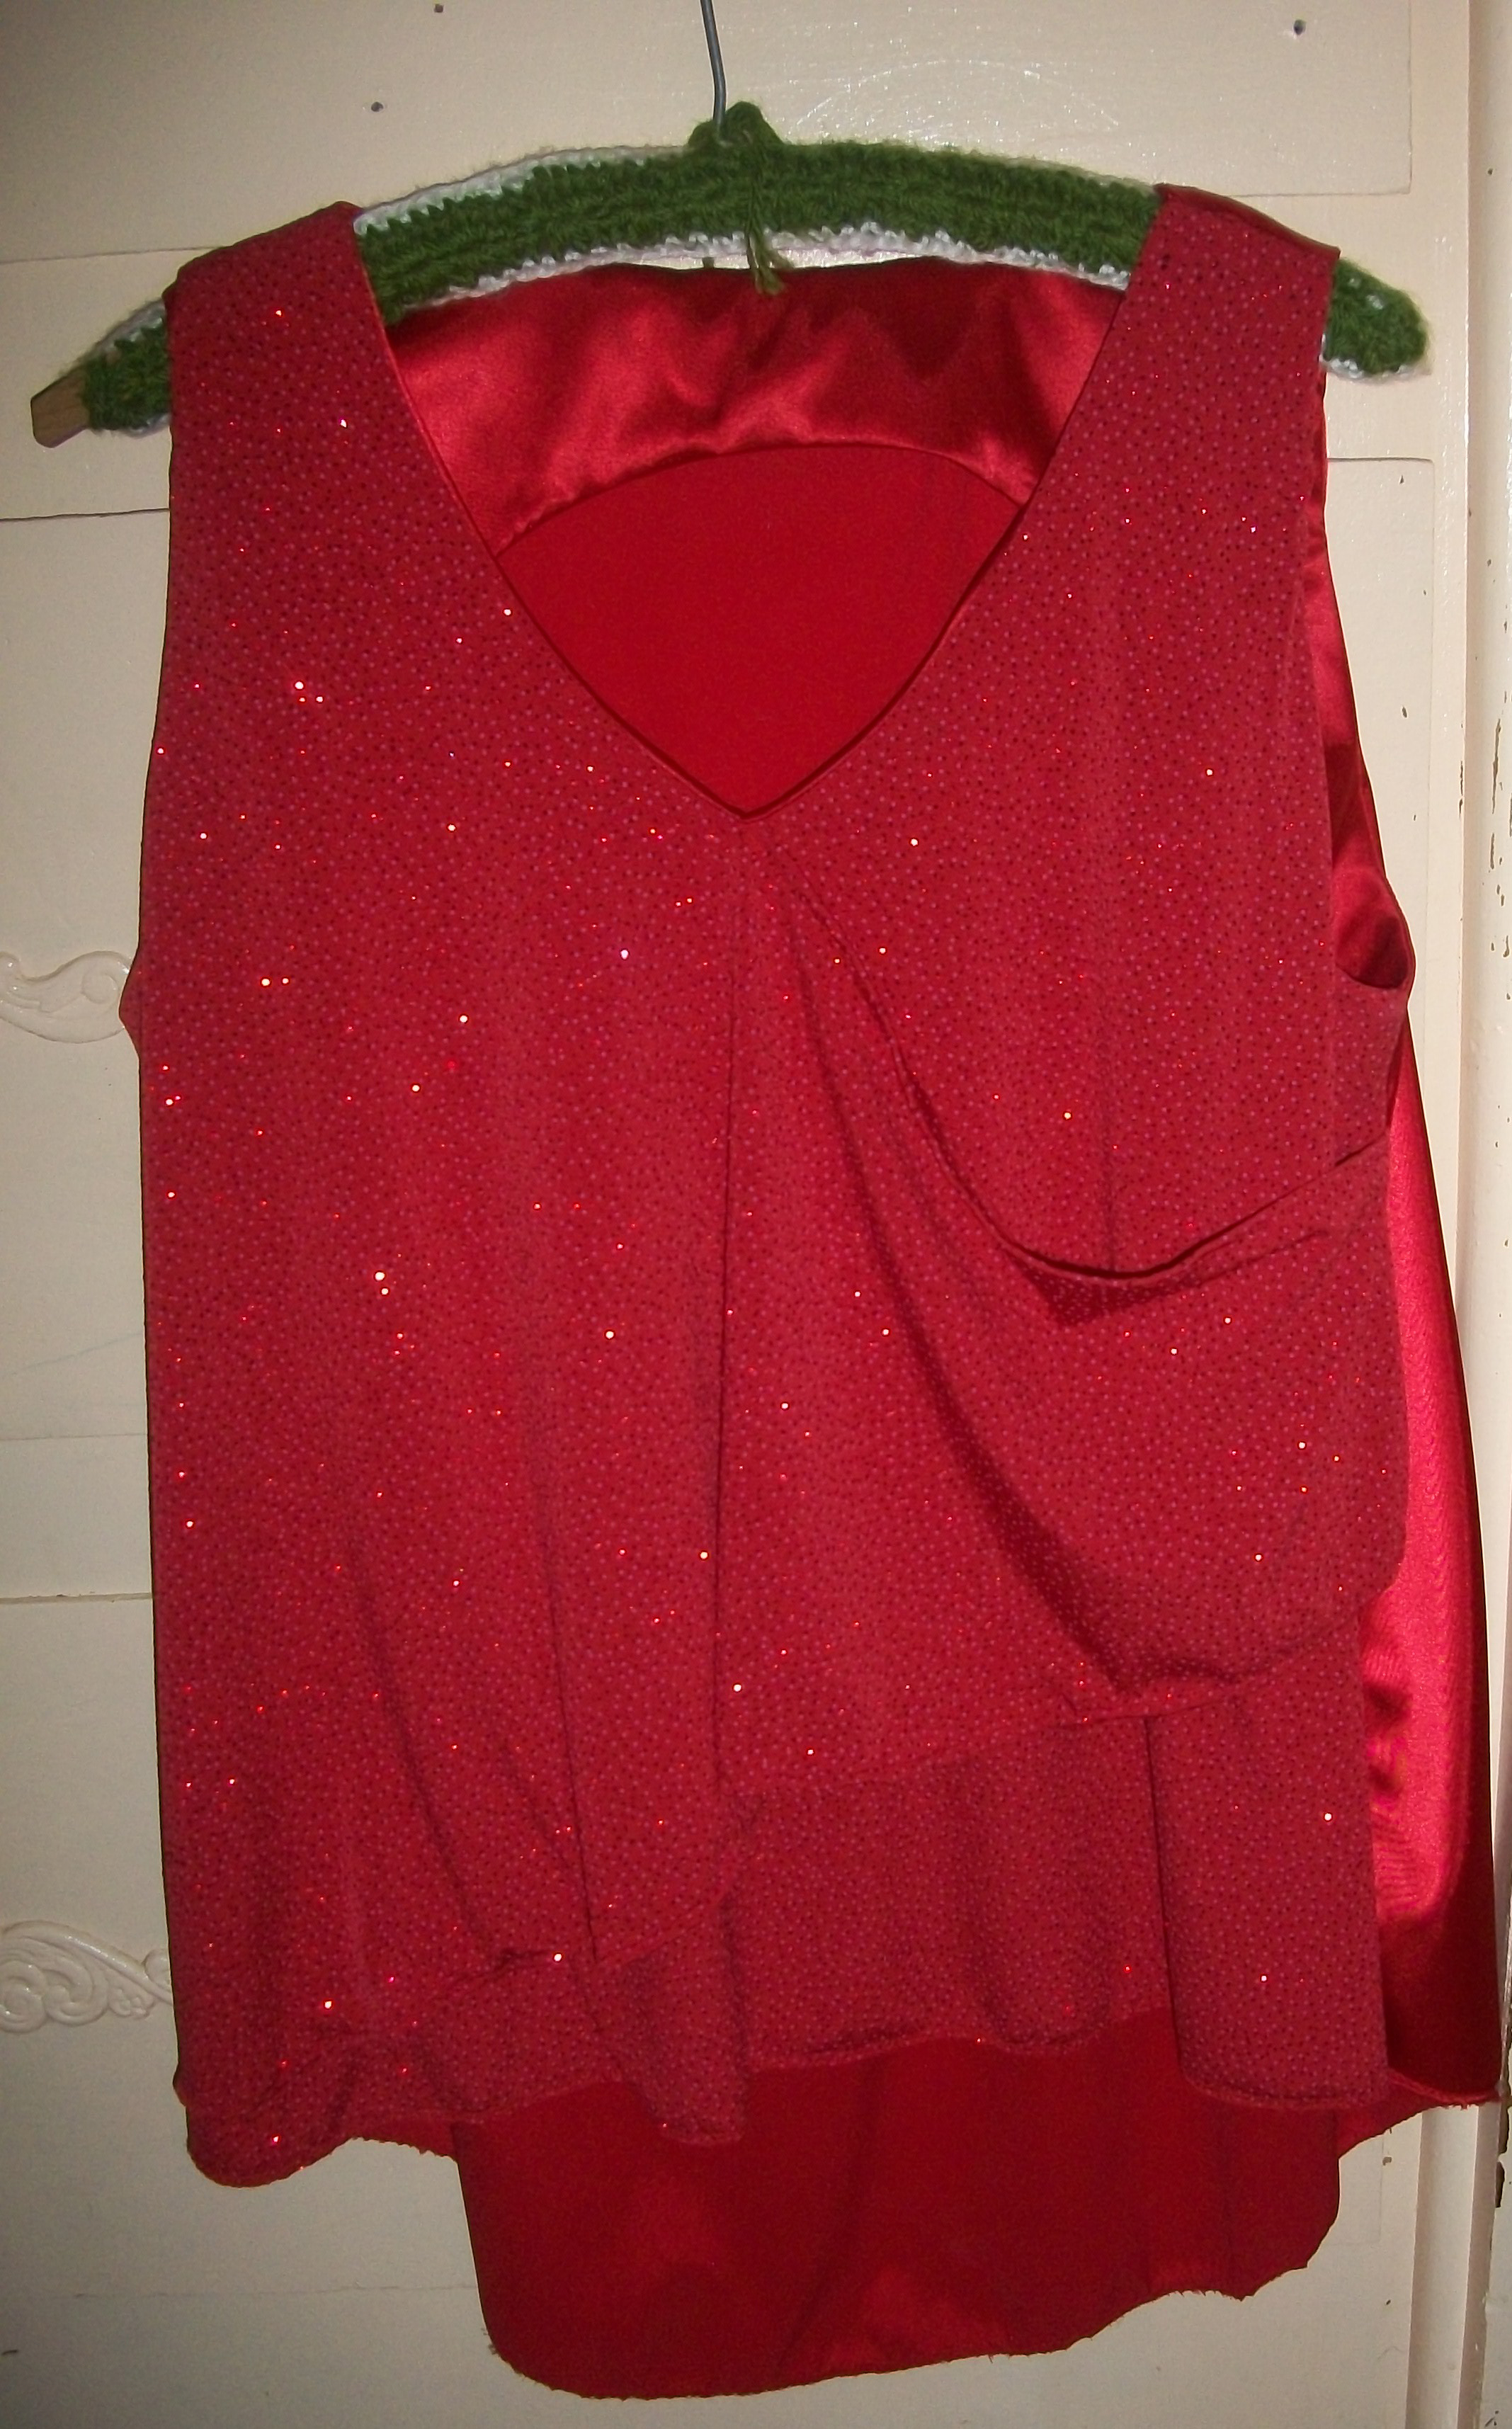
The front fabric is a knit with tiny sequins glued to it. The back and facings are poly satin. The top does not look well on the hangar, that might be why you see so few combination facings in RTW. I also did not tack down the facings at the armpit because I of the delicacy of the knit. I thought wear might create holes from strain on that area as the knit is a bit fragile. When worn the body holds the facings down and the sag on the front disappears.
I used a sequined fabric for the front and a poly satin for the back and facings. I got both from Hancock Fabrics BFF selection I think. They came from the costume section.
Since poly satin frays easily and does not take well to ironing I used a sew-in interfacing, purloining material from a set of organza curtains I no longer use.
Finetuning:
Raising the neckline: I want to make several summer tops from this pattern and I do not like my V-necks to run so low. I raised the neckline but not at the shoulder. I wasn’t raising the back at all and raising at the shoulder would have meant that the front would have been a different width than intended when it met the back. [FYI for Beginners: Patterns are designed so that the back and front shoulder seams match in width perfectly Cutting into the shoulders can change this match up.]
In order to keep the shoulders intact, I shortened the neckline by folding midway up the V, like you would if you were going to shorten at the waistline. But by tucking up the V-neck I also raised the armpit. In pattern alterations one change creates another change. To put the armpit back where it belongs, I measured the amount of the tuck at the neckline, and then cut that amount out of the pattern at the armpit, truing up into the armscye curve by cutting as little away from the middle of the armscye as possible. [Cutting more away as the armscye reaches up toward the shoulder would have cut into the portion that covers the bustline creating another potential problem of exposing my brassiere.]
If you change the neckline of this pattern, you must pay attention to the armsyce. Make your changes to the neckline and armscye and then go in and make those same changes to the facings. In my case, I had altered the front so much that I had to replace more material into the hemline of the front facing as I had cinched out so much at the neckline and armpit.
A Way Around This: You can apply a combination facing as if it were a standard facing; sewing at the neckline, and then edging over garment and facing together as one unit, as you do most often in finishing tank tops. It would not function quite as a combination facing anymore but your edges would still be finished.
Will I Sew it Again:
I like the trapeze hem and V-neck so much that I want to sew several of these as spring/summer tanks.
Advice to Others:

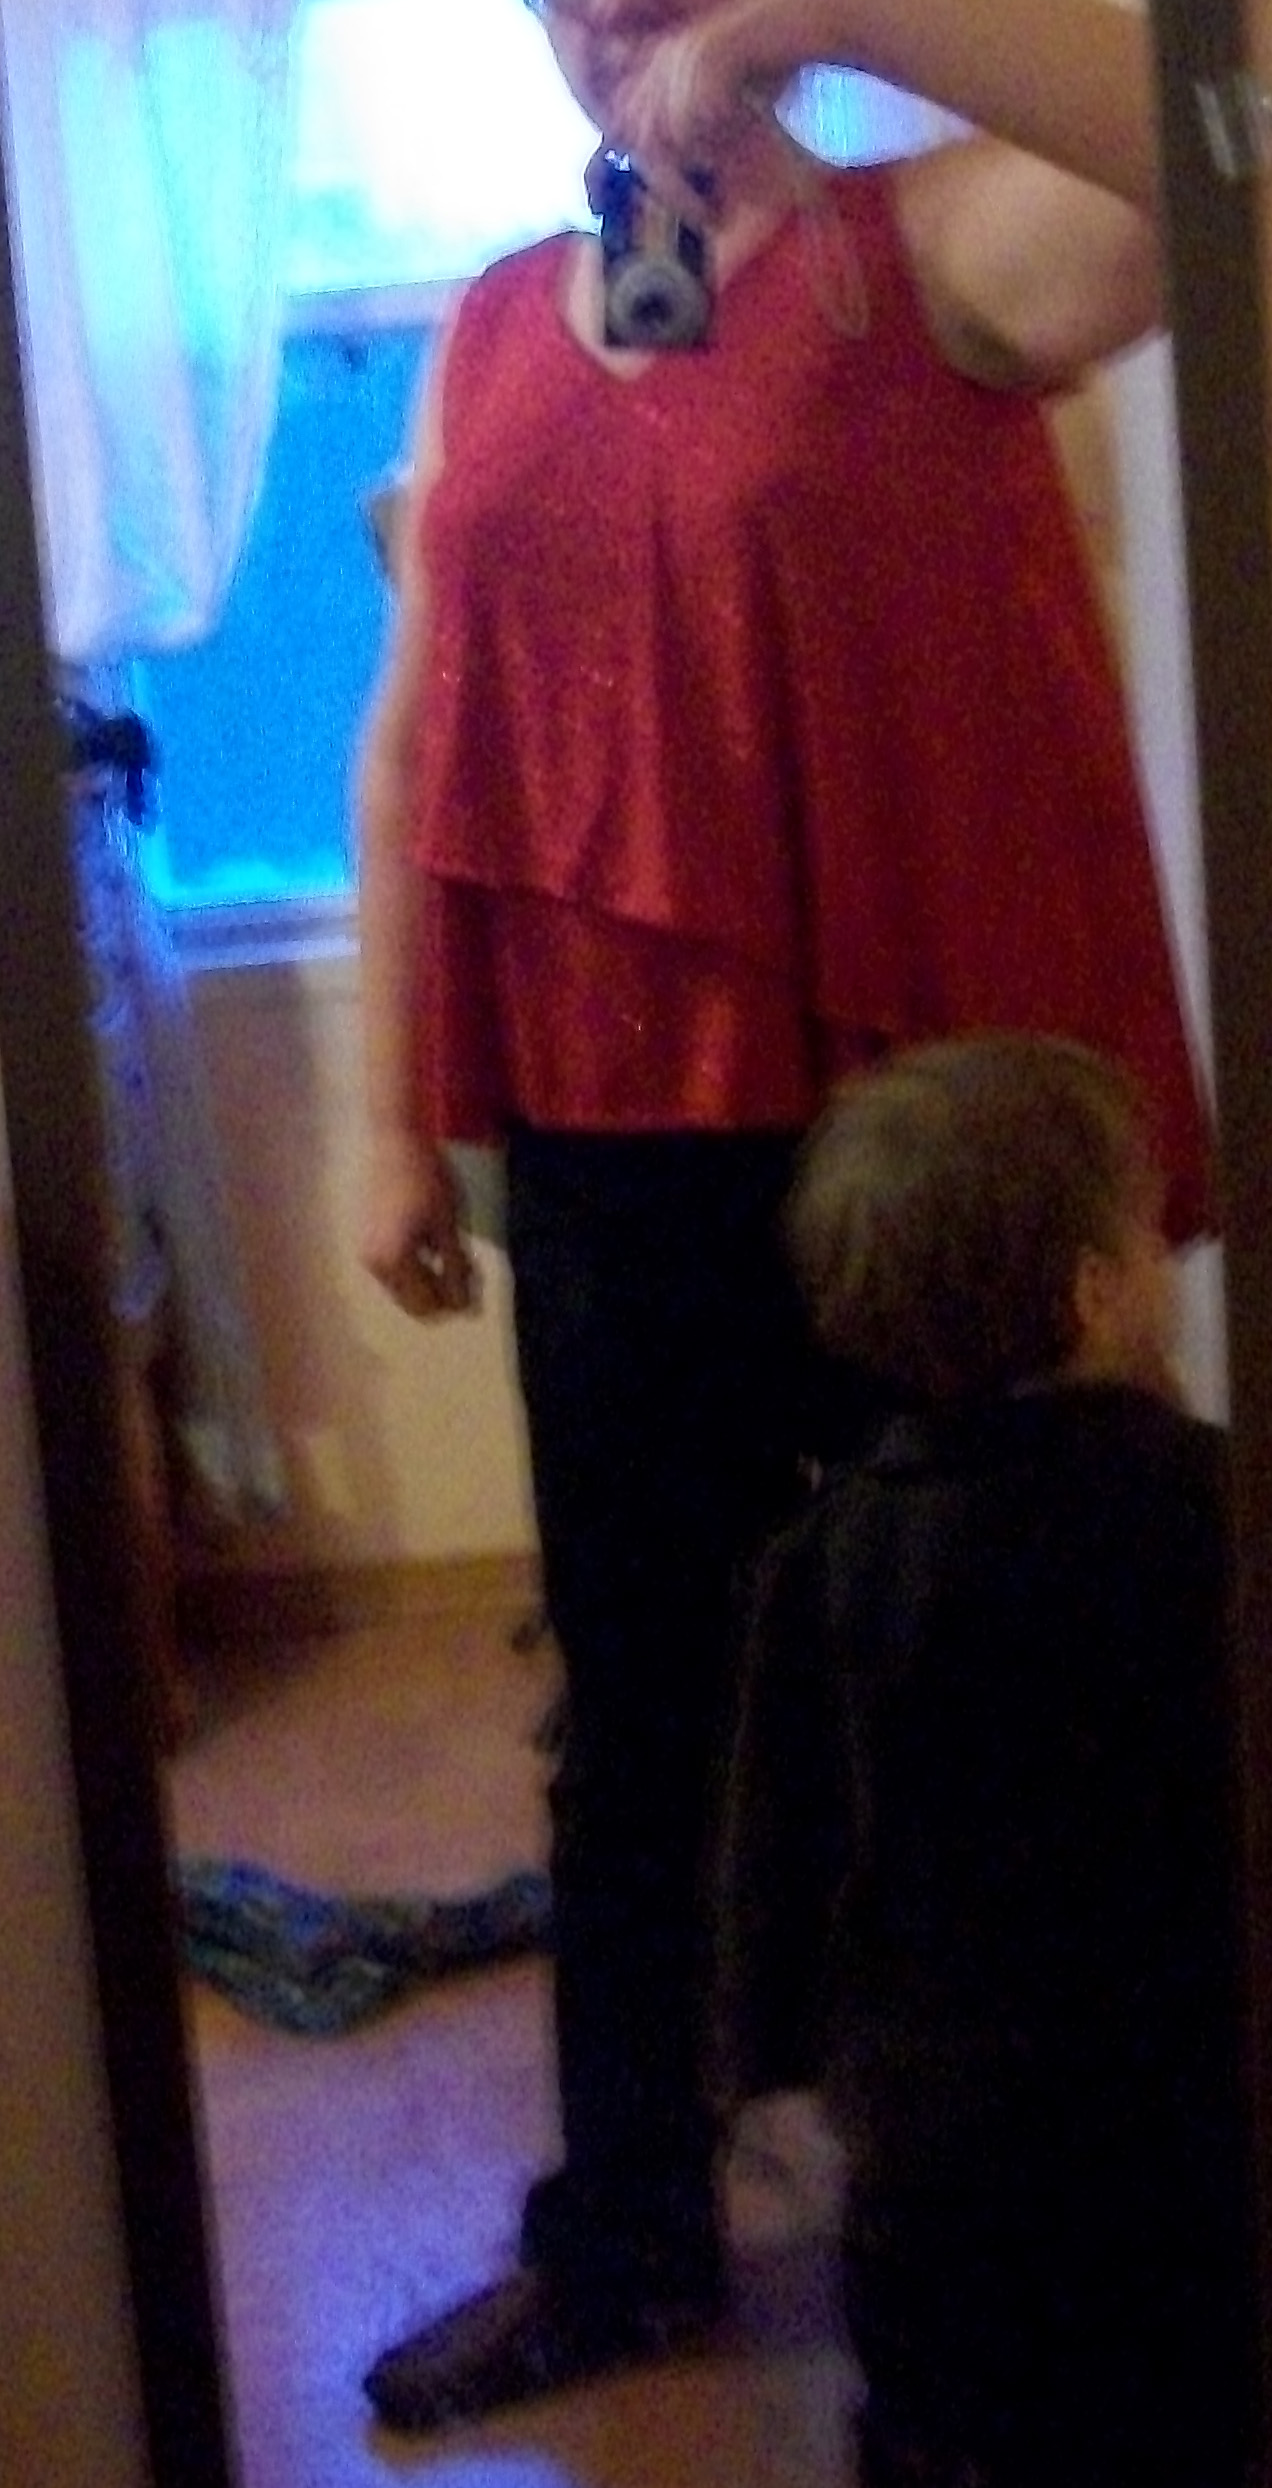
Taken in the evening the photo is a bit shadowy and blurry. And my son ran into the middle of the frame at the last second. Though it is frumpy and folded on the hangar, you can see that when worn the top grazes the waistline and the facings are held down by the body. You can also see how far I have raised the neckline and it still can be put on over the head without adding in an opening/closure. Overall it is a very pretty design and a pleasure to wear.
This pattern sews up quickly and is likely to be a success for beginners stylewise. However, altering the neckline can get tricky and it helps to have a good handle on the common practices involved in altering patterns.
Also, it is designed for wovens. It can be sewn in knits but you may want to make a judgment call about how well you think your particular knit is going to handle a combination facing. You could ditch the facing and use binding but remember that the extra width of the trapeze hem is adding weight to that part of the garment and the combination facing does hold and counterbalance that weight nicely.
What to Wear With It
This was harder than I thought. I wore the finished top to the store and tried on nearly every jacket and sweater in a complimentary color and found that it did best with long thin knit sweaters that covered the back hem entirely. Or short structured jackets reaching only a little past the waist revealing the high low hem worked well also. You can do a half-tuck, only tucking in the long hem at the back into your waistband. That allows the front to show but doesn’t mess up the line of a lot of jackets. The pattern illustrates the top as a summer tank and I found that wearing anything over it does reduce the drama of the hemline. A very cute tank but it may take some tinkering to integrate it into anything but a summer sleeveless option.
Overall Style Grade: A, I really enjoy the style.
Results Grade: A, for once the pattern instructions really do illustrate the best way to sew and finish the garment and the results are lovely and look RTW.

 I sewed the pleats down per the pattern instructions, three on one side and two on the other. Then when I went to sew the middle pleat I did it as I thought it was marked on the pattern. But the effect didn’t look right when I sewed on the yoke. There was no overlap. So I seam ripped and tackled the pleat again. I looked again at the pattern instructions and the pattern markings and tinkered with pins. An overlap was finally created but I was disappointed in that it was not the strong detail as drawn on the pattern envelope. It really was unremarkable. Additionally the bodice was now too small to fit the yoke.