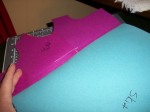
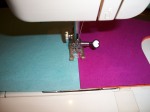
Wherein I Sew Construction Paper
A lot of nightgowns and little girl’s dresses utilize the divided front yoke. It is a yoke that overlaps and separates allowing the wearer to pull the garment over her head. Most are closed with buttons. Here is an example from a recently sewn granny gown.
Warning – Let me warn all of you experienced seamstresses right now, for the remainder of this post you are going to think, as my daughter says, “I already knnneeww that!”
But when I was a newbie making what appears to be a simple dress front would have presented some problems for me. I have never seen an instruction sheet that clearly illustrates what you need to do here. I would have taken it to heart that I didn’t know what to do and felt very discouraged.
The remainder of this post is a short tutorial for very new sewers. If you are stymied by attaching a skirt to a divided yoke I will show you in photos what I do. I have used construction paper to simulate fabric and I will go step by step. Though there are quite a few photos, when you are sewing it is a quick process.
Let’s get started.
Attaching a Skirt to A Divided Yoke
1. Sew facings to yoke fronts, turn seam and press.
Sew your facing to the yoke front. Most instructions will include the back yoke in this process but I have left it out for clarity's sake.
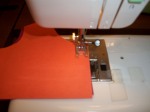
2. Overlap yokes at front. Use a long basting stitch. Start a half-inch or so before your overlap and end a half-inch or so beyond the overlap.
3. Now the skirt must be attached to your yoke bodice.
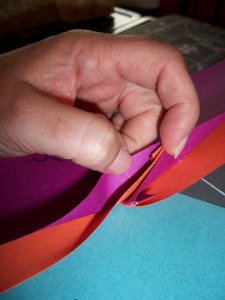
4. But you have a problem. There are these folds in the way.
5. No matter how you flip your yoke you can’t get a full seam.
Start snipping.
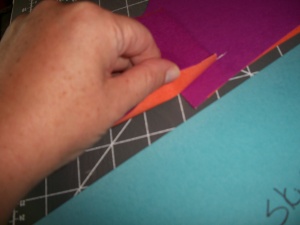
6. Snip the inside portion at the fold. Normally I cut up to my basting stitch as it usually has the seam depth I desire. Snip the outer yoke at the fold, again up to the overlap basting stitch.
Now you did all this. And you still can’t get a full seam. You are still annoyed! What is going on?
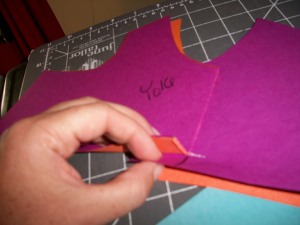
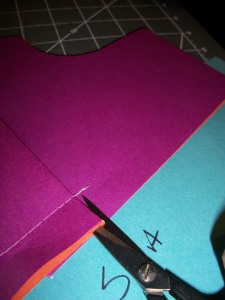
You have snipped your folds but still you are unable to get a continuous seam edge. You can barely see it, but where I have drawn the black line, snip that. Again cut to the basting stitch.
7. Look at the black line I have marked on the yoke front. On the yoke front only, not the facing, cut along that line up to the basting stitch.
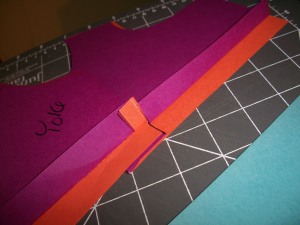
Now you can fold the fabric back and see that there are two continuous edges for a seamline 🙂
What a relief!
Now You are Ready to Sew Skirt to Yoke
8. Fold back your facing so it isn’t caught when you stitch the skirt to the front yoke.
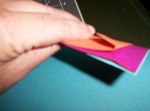
Fold back your facing so it doesn't get caught in your stitching. Then lay the skirt and front yoke wrong sides together and sew.
9. Wrong sides together sew your skirt to the yoke front. And voila! You have attached your skirt to the that bedeviled divided yoke.
All That is Left to Do
Finish the Inside Facing
10. Now finish your facing. Flip to the inside. You may have serged your facing edge, or you might want to turn the raw edge under.

Flip garment. Press seam edge up into the enclosed yoke. Then lay facing flat covering seam edge. Facing may have its own edges serged or folded.
11. Then a typical finish is to stitch in the ditch from the front to secure the facing on the inside.
12. Here you see it. Facing secure. And you can remove the basting stitches if they still show.
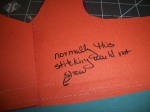
Normally the edge would be serged on my garments. Here the facing is secure and the basting stitches are ready to go.
Three little snips.
Problem solved.
A long read for a quick solution but I hope it helps any newbies who have gotten waylaid at this step in their sewing.
Next Post: Tuesday, September 21, 2010;Slips and Camis from the Martensson Book
